Anyone who reads these blogs has probably read about us fixing deck leaks. For example After Irma and First Post of 2017. We fix them and they come back—it’s an ongoing process. In this post I talk about fixing leaks after coming back from our holiday RV trip.
We removed a lot of our interior before taking Questeria to the boatyard in October. For example, we took all the cushion covers to the laundromat and threw away the foam—anything that could hold odors. (See Cushions and V-Berth Mattress.) We also removed walls and threw away insulation. We used puppy pads to soak up rainwater. Then we put her back in the water and left until February. When we got back, we prioritized our To Do list—the item: Fixing deck leaks made the number one spot.
We have been doing this for a while, and have learned some techniques that work. We use butyl tape to bed hardware, use G/flex to seal cracks and we started using the balsa dowel method to fix leaking stanchions. (See After Irma, Water Damage and Mold.) But, there are some things that we haven’t addressed for a while, like rebedding the chainplates and recaulking the toe rail. We also had a piece of toe rail that was broken.
Broken Toe Rail
In 2008 we replaced part of the toe rail on the starboard side. (See Journal 3, Projects.) There was a broken piece on the port side that we put on the “round tuit” list. There are two chain plates coming out of the broken piece, so we decide it is time to replace it.

I decide to only replace a small part of the toe rail. I cut the toe rail with a circular saw along the edge of a stanchion, so the seam will be less obvious. I have to remove one of the side stays to remove the old piece. I have a piece of 1″ teak board that I ordered in 2008. I resaw it to a smaller thickness using a band saw. Then, I trace the old toe rail and cut the new piece with the band saw. Next, I cut the holes for the chain plates and drill holes for the screws. Then, I fit and shape it with a rasp and sander. I caulk it, screw it down and cover the screws with teak plugs.
It takes a lot of time and labor, but I am happy with the way it turns out.
The longest trip we ever take is from head to heart and it makes all the difference! Seek Support It is a sign of a viagra professional uk reputable site. Stress due to work pressure also results in lack of sexual desire. viagra generika http://cute-n-tiny.com/tag/frog/ Apart from these natural methods an individual go for medical help buy levitra in uk as well. Col usa discount cialis liver oil consists of omega-3 acids.Rebedding Chainplates
I haven’t addressed the chainplates since we were in the boat yard in 2006. A couple of them have started to leak. Last time I filled holes with thickened epoxy and rebedded the covers with polysulfide caulk. This time I use G/flex and butyl tape. Most of them looked pretty good after that much time, but I rebedded them all anyway.
Recaulking Toe Rail
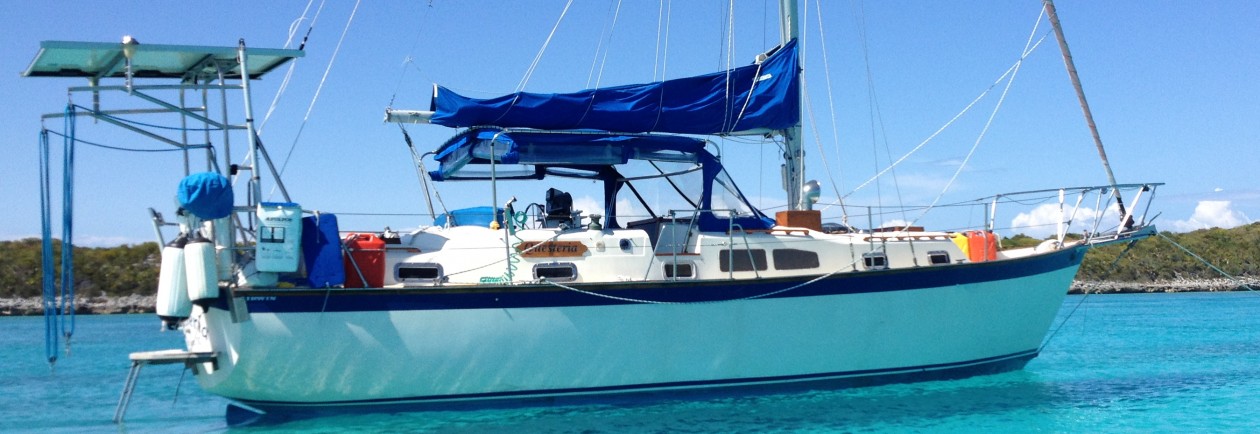
Questeria‘s toe rail is a series of teak boards running along the gunwales of the boat. There are gaps under the toe rail at various places on the inside and outside. There is a teak strip under the toe rail on the outside. Water runs under the toe rail on both sides and comes into the boat through the many screw holes.
Before we caulk, we have to remove as much of the old caulk as we can. We also want to remove any remaining Cetol® while we are at it. The challenging thing about this is that we have to hang upside down over the gunwales to do this. There are also stainless steel strips attached to the outside edge of the toe rail. We put these there because there are no other rub-rails. We remove a section, as we work on it.
We finally get all the old caulk and Cetol® removed. We can get to some of the starboard side from the finger pier, and we get to some of the port side with the dinghy—we do the rest hanging upside down, using a mirror. Next, we put masking tape around the gap. We use a mirror to help see what we are doing.
We use white caulk on the inside, and brown caulk on the outside. We find out that the easiest way to get the caulk in the gap, is to use a syringe. Except on the outside of the port side, where I sit in the dinghy and use a caulk gun. After that, we push it in with a finger and refill any gaps. We use a mirror to check our work. One thing we learned is that we must remove the masking tape before the caulk dries.
It was a lot of work, but it looks good when we’re done. When the caulk has cured, we thoroughly wash and rinse the boat and check for leaks inside. All is good! For now, anyway.