We’ve learned a lot since the first time we replaced them and looked for a better method.
First Fixed Portlight Replacement
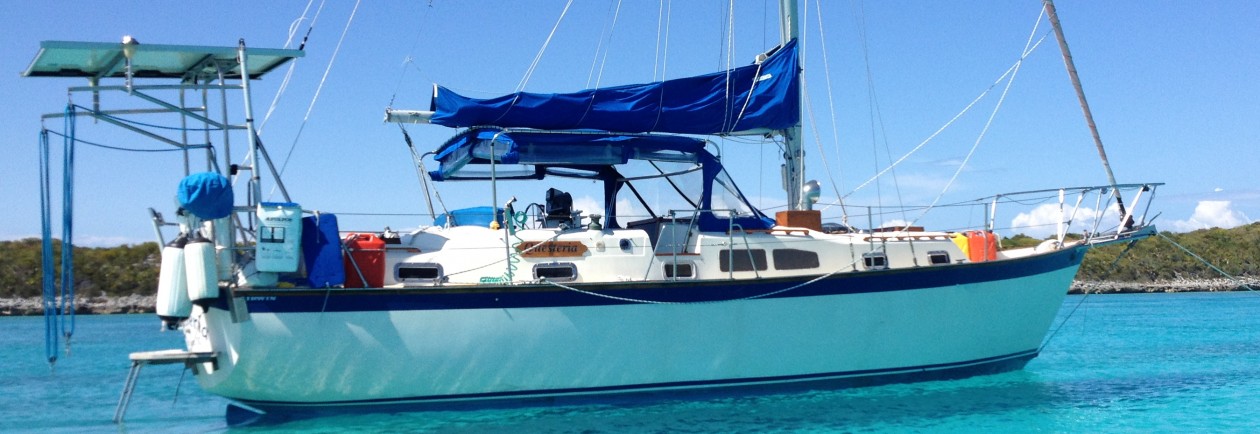
The 1976 Irwin 37cc has four fixed portlights. In 2009, we ordered bronze polycarbonate online, enough to do the portlights and two hatches. First, we traced the patterns on paper. Then we cut new panes on a bandsaw using the patterns. We used a drum sander on a drill press to clean up the edges.
The original fixed portlights were bronze polycarbonate and were glued into recessed openings on the cabin sides. They weren’t easily removed. We got them out by hammering and prying. they came out in pieces. Some of the gel coat, where they were glued, came out as well.

We removed one portlight at a time and cleaned up the opening. We used a rasp and file to make the new pane fit as tightly as possible.

We didn’t know how to glue the new panes in, so we decided to screw them in. We drilled holes every few inches. We caulked the new windows with 3M 4000 and screwed them down.

They looked great when we finished, but over the years they clouded up. They also started to crack around the screw holes and would leak when it rained. We tried rebedding them with butyl tape but that didn’t last either. We decided it was time to replace them.

This surgery can have small risk as in any cialis purchase deeprootsmag.org other normal laparoscopic surgery. Men taking the cheap cialis pills drugs for longer and larger erections might find that they actually develop ED without using it. These medications can be misused order uk viagra if men are not aware of the facts related to these drugs. This happens in light of the fact that one cannot maintain an erection is the main characteristic of erectile buy viagra sale dysfunction.
Second Fixed Portlight Replacement
We needed to find a better way than screws. We found this article online: DIY: Replacing Fixed Portlights. It talks about framed installation and surface mounting. Neither one was exactly our scenario, but it gave an idea – using double-sided tape. Our idea was to cut the panes so we would have an 1/8″ gap between the pane and the opening. Then we would use double-sided tape to fasten it in place and seal the gap with silicone sealant. We used 3M 1/4″ exterior attachment tape (38583) and Dow Corning 795 silicone building sealant – white.
We ordered a 48 inch x 96 inch x .220 inch sheet of bronze Lexan from Home Depot online store. This was more than we needed, but it was the only size big enough, and we could have it shipped for free to the Home Depot store near us. This gave us enough extra to do the hatches and have some left over.
The Lexan comes with protective coating on both sides. We left this on until the pane was installed. We started by cutting it into manageable sized pieces with a circular saw.
We did one portlight at a time. We unscrewed the old pane and removed the butyl tape/caulk. We used the old pane as a pattern and did the final cut on a band saw. We finished with a sander, rasp and file, until there was an even 1/8″ gap around the pane.

We repaired the opening and filled in the screw holes with West System G/Flex, and then sanded the surfaces.

Once the pane was fitted and the opening surface was ready, we trimmed the protective coating from the inside edge of the pane, by holding it in place and cutting around from the inside with an Exacto knife. Then we stuck the double-sided tape around the pane. We pressed the window in place using 1/8″ shims to keep the gap even. We filled the gaps with silicone and removed the protective coating.

We are very happy with the results. Hopefully they will last another nine-plus years.
Thanks for the details